How to configure and run Workflow Server
General information
Workflow Server is a ready-to-use Workflow Engine-based application that you can deploy into your infrastructure. It can be integrated with NodeJS, PHP, Ruby, .NET, or Java applications via an HTTP API. Workflow Server is a key component which manages the lifecycle of business objects within your enterprise.
Initially, download workflowserver-version.zip from this page and extract it. Where
version is the Workflow Server version number. Or you can clone the GitHub repository.
How to launch via GitHub
-
Clone the repository.
git clone git@github.com:optimajet/WorkflowServer.git
cd WorkflowServer -
Next, you can follow the instructions below for launching the Docker container.
Windows:
startcontainer.batLinux/MacOS:
chmod +x docker-files/wait-for-postgres.sh
chmod +x startcontainer.sh
./startcontainer.sh
How to launch via Docker
You need Docker with the Docker Compose plugin.
- Run the startcontainer script.
-
For Windows: run the file:
startcontainer.bat -
For Linux/MacOS:
chmod +x docker-files/wait-for-postgres.sh
chmod +x startcontainer.sh
./startcontainer.sh
This script build this Workflow Server's solution and run it with PostgreSQL database.
- Open http://localhost:8077 in a browser.
- Upload your license key via the Dashboard or save the licence key as
license.keyinto the folder or add to 'license' folder. - Fill out the Callback API urls at http://localhost:8077/?apanel=callbackapi to perform integration.
In case of running Workflow Server on MS SQL or MongoDB, then you can use these docker-compose files:
- MS SQL Server:
docker-files/docker-compose-mssql.yml - MongoDB:
docker-files/docker-compose-mongo.yml
MongoDB script:
chmod +x docker-files/wait-for-mongo.sh
docker compose -f docker-files/docker-compose-mongo.yml build
docker compose -f docker-files/docker-compose-mongo.yml run --rm start_db
docker compose -f docker-files/docker-compose-mongo.yml up
MS SQL script:
chmod +x docker-files/wait-for-mssql.sh
docker compose -f docker-files/docker-compose-mssql.yml build
docker compose -f docker-files/docker-compose-mssql.yml run --rm start_db
docker compose -f docker-files/docker-compose-mssql.yml up
How to launch it with a custom database
-
First, the following SQL-scripts should be run from the SQL\MSSQL directory if you use MS SQL Server Database:
- CreatePersistenceObjects.sql.
- WorkflowServerScripts.sql.
You might run also the scripts for PostgreSQL from SQL\PostgreSQL directory, Oracle in SQL\Oracle, and MySQL Database from SQL\MySql.
-
Make the following changes to the
config.jsonfile:- Change the URL parameter to the IP and the port of the HTTP listener. Most likely you'll need to leave it as is.
- Specify "mssql", "postgresql", "oracle", "mysql" or "mongodb" in the Provider parameter depending on what database provider you are using.
- Change the ConnectionString parameter to match your database provider connection settings.
- MS SQL Server
- MySQL
- PostgreSQL
- Oracle
- MongoDB
"Provider": "mssql",
"ConnectionString": "Data Source=(local);Initial Catalog=WorkflowServer;Integrated Security=False;User ID=sa;Password=1;TrustServerCertificate=True;"
"Provider": "mysql",
"ConnectionString": "server=127.0.0.1;uid=root;pwd=myPassword;database=WorkflowServer"
The root user does not have a default password. You either need to change the connection setting in the config.json file or change the root account to match the password.
"Provider": "postgresql",
"ConnectionString": "User ID=postgres;Password=1;Host=localhost;Port=5432;Database=WorkflowServer;"
"Provider": "oracle",
"ConnectionString": "Data Source=(DESCRIPTION=(ADDRESS_LIST=(ADDRESS=(COMMUNITY = tcp.world)(PROTOCOL = TCP)(Host = MyHost)(Port = 1521)))(CONNECT_DATA=(SID=MyOracleSID)));User ID=myUsername;Password=myPassword;"
"Provider": "mongodb",
"ConnectionString": "mongodb://localhost:27017/WorkflowServer"
-
Install .NET 8.0 (use Arm64 instead of x64 for Apple M chips).
-
Run the Workflow Server:
- Workflow Server supports console and service modes on Windows:
- Run the
start.batfile to run it in the console mode. - Run the
installservice.batas administrator to run it in the service mode.
- Run the
- For Linux/MacOS:
- Open the terminal in the directory where was extracted the
workflowserver-version.ziparchive. - Run the following commands:
chmod +x start.sh
./start.sh
- Open the terminal in the directory where was extracted the
- Workflow Server supports console and service modes on Windows:
-
Open http://localhost:8077 in a browser.
-
Upload your license key via the Dashboard or save the licence key as
license.keyinto the folder or add to 'license' folder. -
Fill out the Callback API urls at http://localhost:8077/?apanel=callbackapi to perform integration.
How to rebuild Docker image
Your database port must be accessible via the Docker network.
-
Edit the
config.jsonfile as described here. -
Run the command from the project root folder:
docker build --tag my-workflow-server --file WorkflowServer/Dockerfile . -
Run the Docker container:
docker run my-workflow-server
How to rebuild and run
-
For Windows:
buildandstart.bat -
For Linux/MacOS:
chmod +x buildandstart.sh
chmod +x start.sh
./buildandstart.sh
How to run in Visual Studio
- Open
WorkflowServer.slnin Visual Studio or JetBrains Rider. - Check the connection string to the database in the
config.jsonfile, Provider and ConnectionString parameter. - Run WorkflowServer project.
How to completely customize Workflow Server
- Open
WorkflowServer.slnin Visual Studio or JetBrains Rider. - The solution contains only one project, WorkflowServer; you can add references to your own projects and dlls to it.
- In the WorkflowServer project, find the
Program.csfile; you can optionally configure WorkflowRuntime here.
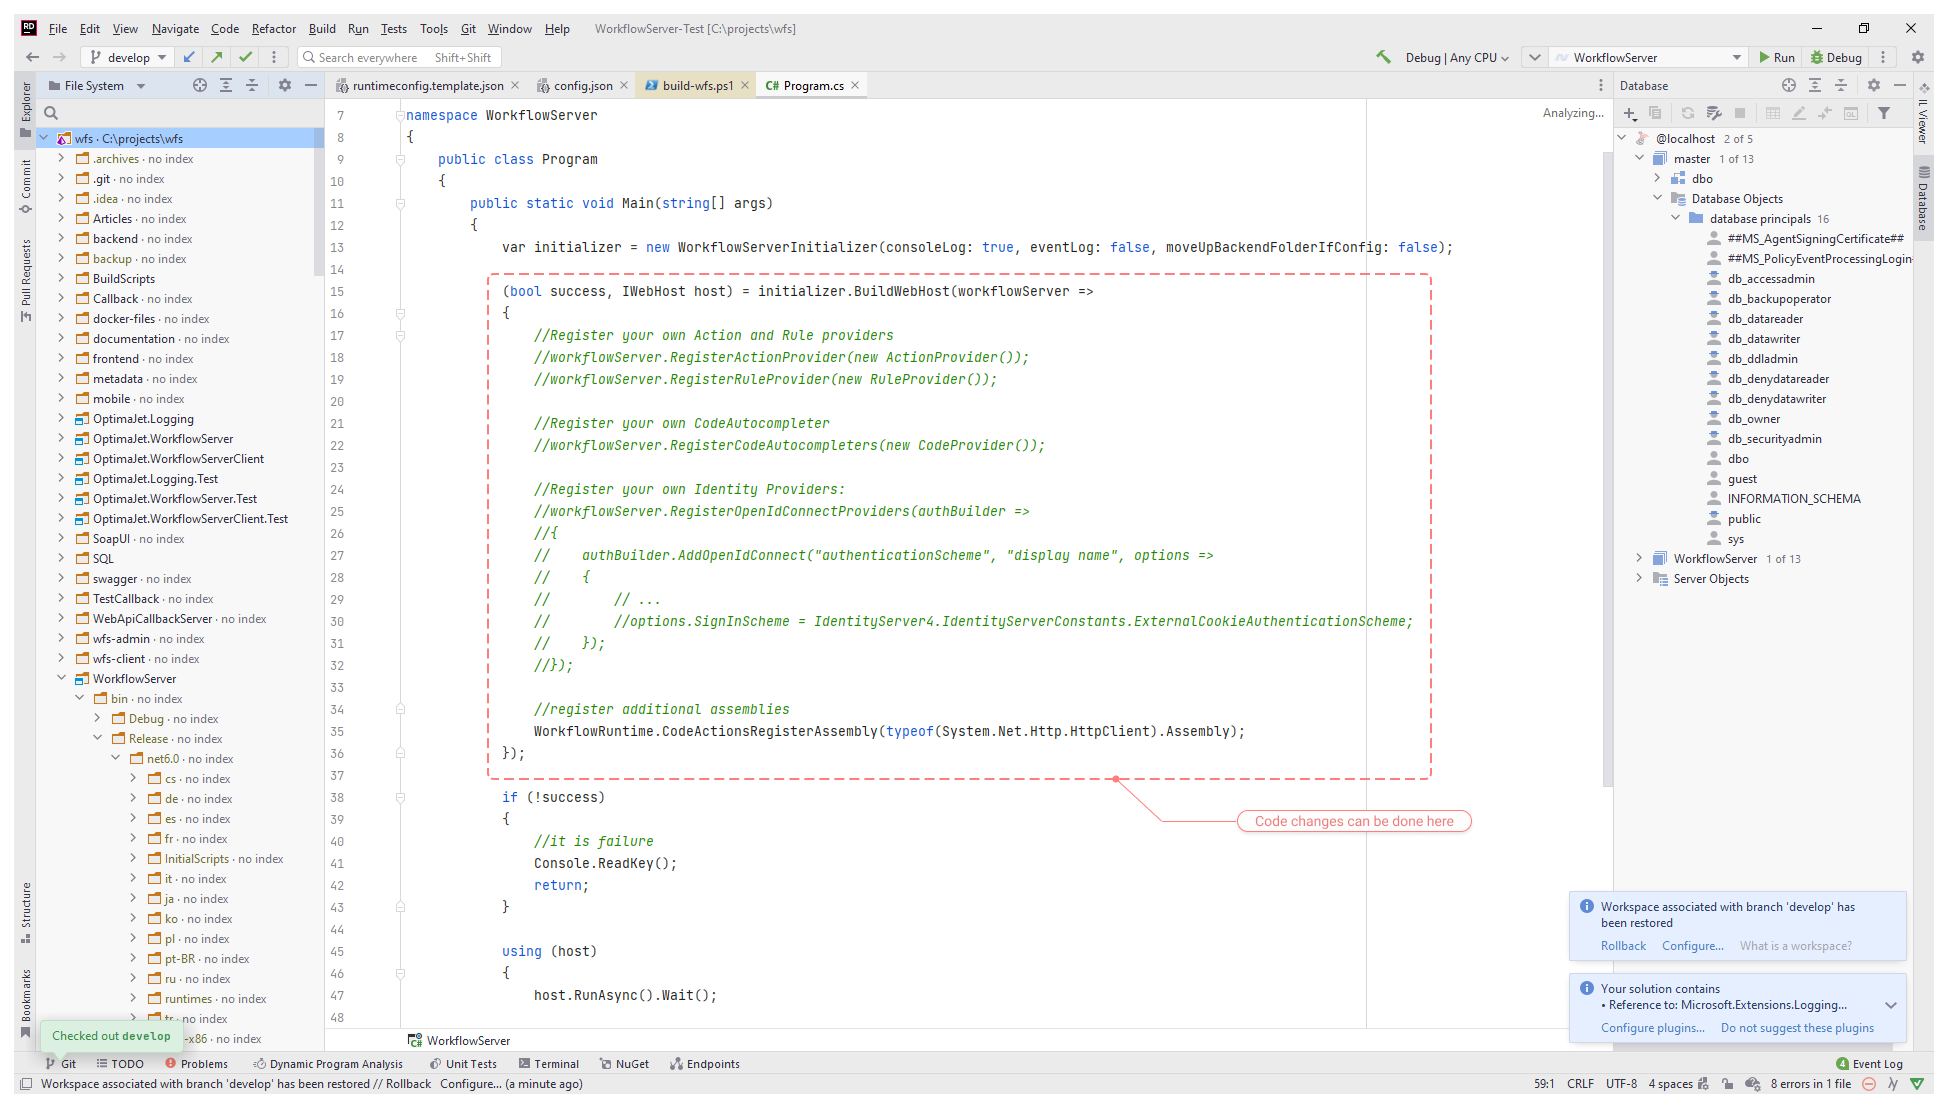
Program.cs contains the following code:
(bool success, IWebHost host) = initializer.BuildWebHost(workflowServer =>
{
    //Register your own Action and Rule providers
    //workflowServer.RegisterActionProvider(new ActionProvider());
    //workflowServer.RegisterRuleProvider(new RuleProvider());

    //Register your own CodeAutocompleter
    //workflowServer.RegisterCodeAutocompleters(new CodeProvider());

    //Register your own Identity Providers:
    // workflowServer.RegisterOpenIdConnectProviders(authBuilder =>
    // {
    //     authBuilder.AddRegistration(new OpenIddictClientRegistration
    //     {
    //         Issuer = new Uri("https://localhost:44323"),
    //         ClientId = "wfs-client",
    //         ClientSecret = "DF77F57E-3BD4-4E06-B464-FC4B497D0B20",
    //         ProviderDisplayName = "OpenIddict server",
    //         ProviderName = "OpenIddict",
    //         RedirectUri = new Uri("https://localhost:8077/account/callback"),
    //         ResponseTypes = { "code" },
    //         Scopes =
    //         {
    //             OpenIddictConstants.Scopes.OpenId,
    //             OpenIddictConstants.Scopes.Profile,
    //             OpenIddictConstants.Scopes.Email
    //         }
    //     });
    // });

    //register additional assemblies
    WorkflowRuntime.CodeActionsRegisterAssembly(typeof(System.Net.Http.HttpClient).Assembly);
}, webHostBuilder =>
{
  webHostBuilder.ConfigureServices(services =>
  {
    // register your own services in a DI container (available from Workflow Server 5.0.0 version)
    services.AddScoped<CustomActivity>();
  });
});

// register your custom activity from DI container
var workflowServer = host.Services.GetService<WorkflowServerRuntime>();
var customActivity = host.Services.GetService<CustomActivity>();
workflowServer.WorkflowRuntime.WithCustomActivity(customActivity);
The object workflowServer.WorkflowRuntime is available here; thus, you can add your own versions of:
- IWorkflowActionProvider
- IWorkflowRuleProvider
- IDesignerAutocompleteProvider
- IDesignerParameterFormatProvider
- add plug-ins of your own
- subscribe to any
WorkflowRuntimeevents, such as events that occur during the process execution or an error handling - add customized Process Restorers
Therefore, you get access for complete customization of Workflow Engine in Workflow Server.